Sunday, December 30, 2012

Zippered Pouches

I have been having fun making these zippered pouches.  It has been a learning process with a few mistakes made.  It is a free online class from Craftsy here.  It is taught by Kristin Link from Sew Mama Sew.


The green one was the first one I made.  The one to the right of it I accidentally cut off the pull tab when trimming and was a good thing I did because it would have been sewed on incorrectly like what happened with the baseball one.  The tab is in the inside, dang.  On the bottom right one I put the pull tab right by the zipper.  Some people may think it doesn't look as nice, but it feels better ergonomically when pulling the zipper open.  I still have to make another one for my nephew so I think I will try putting in two zipper tabs, one on each end of the zipper.


I used up this fabric and put it in the inside for lining.

I think you could make these any size.  One would just have to add 1 inch in measuring fabric to whatever size zipper they are using.  Taking into consideration outside fabric and lining fabric measurements have to be the same.

One thing I do that helps is when trimming up, I lay the three fabrics (back lining, the front with zipper and the back) and trim up everything at once.  I still need to practice sewing in the zipper, but the pouch
comes out good even with imperfections.

Craftsy is so addicting with all the fun classes and talented teachers!

Thursday, December 20, 2012

This Moment


{this moment} - A Friday ritual. A single photo - no words - capturing a moment from the week. A simple, special, extraordinary moment. A moment I want to pause, savor and remember.

Sunday, December 16, 2012

Woodland Elf

I finally finished my Woodland Elf.  I became a little obsessed in getting her pieced together to see how she would turn out.  I actually made three faces and am was surprised at how different each one looked.  I learned a lot of lessons and will have to jot down some pointers if ever I make her again.

First I would practice with the eyes.  Cannot practice enough in that area.  The hair which was needle felted on I don't even know how to judge my work.  I think this was easier than some other parts like the bead joints.  I made the mistake of making this too tight with string and the top and bottom part of her legs do not hang nicely.

The biggest surprise is her legs.  I'm not sure what I did wrong but I can't fold her in the middle to have her sit. ???  I don't know if I stuffed the top part of her upper leg too much or stitched it too tightly?  I'm going to email Shelly from Ginger Melon and ask how she gets her Woodland Elf to sit?  Only thing I can think of is to stitch her legs from the side.  It was a labor of love and one is not tied to a sewing machine, but I think I am ready to get back on the machine.  (Addition:  The ever gracious Shelly did suggest not stuffing the upper part of her legs by 1/4 inch so she can bend in the middle.)

My Woodland Elf named Melony, in tribute to her creator's blog name, Ginger Melon.


She looks good sitting on my Christmas tree.  You can't even tell she can't bend in the middle.  I hope to post another picture later when I get her crown done.

Now I need to clean up my mess from the kitchen table because Sean's folks are coming to stay tomorrow and I have so much cleaning to do.  I'd rather be playing with fabric.  Balance is good.

Friday, December 14, 2012

Shock, Sadness and Silence

I pray with all my heart for the families in Newtown, CT who have lost a loved one today in such a horrific way.


Sunday, December 9, 2012

Face #2

After stitching and stuffing my first face I made for the Woodland Elf, I didn't like it as much as I thought I would.  So, I embroidered another face.

I'm a little nervous about the hair.  I hope I can get the hair to look right.


The snow has been falling and now it does look like the Holidazzle out there!

Safe driving everyone!

Thursday, December 6, 2012

Some Gingery Pictures

My Gingermelon's WIP ~ The Woodland Elf


I wanted to make a Woodland Elf exactly like Shelly's at Gingermelon, but my own style won over.  Has that ever happened to you?  My inner artist wants expression and she wanted this Elf to have violet eyes, and so it is.


Audrey & Jamie make Gingerbread Houses in Pre-school.  They had a lot of fun.


Christmas music blaring and the girls endlessly twirling like Dervishes.  Christmas spirit is enjoyed as the month zooms by.


 Wishing you a wonderful Holiday Season!

Monday, November 26, 2012

More Fabric Coasters

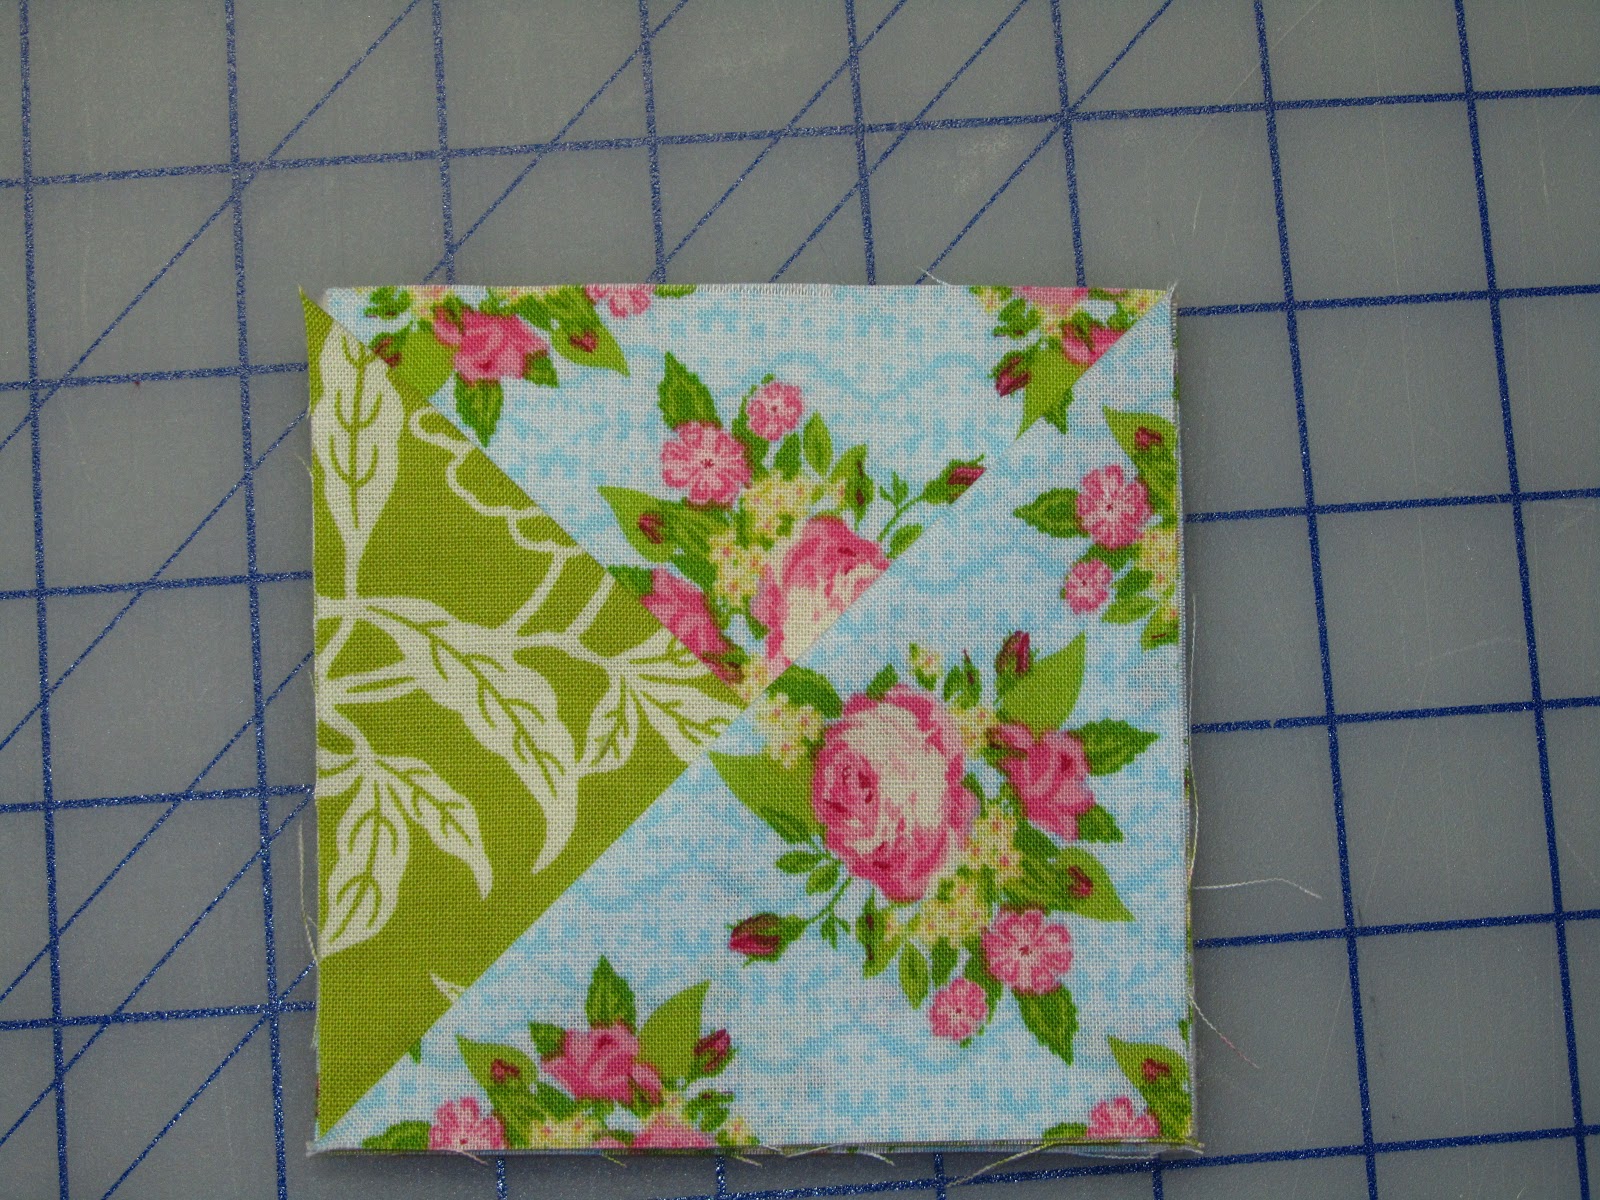
Yes, it is that time of year when gift ideas for Christmas presents come in handy in blog land.  By popular demand here is my version of how to make one 3.5 inch fabric wine coaster.  (Warning... 20 pics.)


Cut six 4 x 4 fabric squares, three in one color and three in another color.  My 4 x 4 square ruler comes in handy.


Six cut pieces of fabric and one 4 x 4 Warm and Natural batting.  I also use some craft glue instead of pins to keep the pieces in place.


Iron flat on the diagonal (triangle shape) four pieces, two in one color, two in the other.


Lay one square piece right side down and then lay the cotton batting on top.  I put a dab of glue around the corners and one dab in the middle.


Put the last square right side up on top of batting.When turned inside out, this will be the back.


I dab a little bit of glue on the three corners.

Place the triangle piece on top with perpendicular corner to bottom left side.  Don't press the upper left corner too hard with fingers because you have to lift it later.


Alternating colors, place another triangle piece with the perpendicular corner facing lower right side.  You can press the glued corners on this one.


This would be the third triangle with the perpendicular corner facing upper right side.


Last triangle start to put in place with the perpendicular corner facing upper left, but part of it has to go under the first piece of triangle fabric.


Fold part of the first triangle back and lay half of the fourth triangle underneath it.


Lay the last triangle piece so the corners match the edges.

Put the first triangle piece on top of part of the fourth triangle piece.  All pieces should align so it looks like a 4 x 4 square.


Take to sewing machine and sew 1/4 inch all around.  This is turned in the middle so all sides get stitched down.


Clip corners and grade down leading to corners, careful not to clip stitching.


See the hole in the middle? turn inside out through that hole.  It will feel like you have to go through four layers.  Just keep fiddling until it looks right and is turned inside out.


Use your favorite tool to get the corners out as much as possible.  I can't get mine all the way out.  Just too many layers in there.


I like to give it a light press to make it look nice after the stress of turning.


This how the back looks.

Open the middle and wrangle a wine glass in it.


A little coaster that goes with the wine glass wherever it wants to land.  ( If you are up to it and are feeling generous, why not make a pot holder too in matching fabric? Here is a visual on You Tube here.  Remember to use Insul Brite for heat resistance.)


Oh my Goodness, such hams! I'd like to say a cheer to photo-bombing toddlers who are always reminding me to not take myself so seriously.

Saturday, November 24, 2012

Practice, Practice, Practice!

I have been trying to practice free-motion quilting.  As most things it looks easier than it is in keeping uniform the design.

 As you can see I need a lot more practice.  This is not pretty to look at.  I thought I would try and make something to help me move the quilt along.  I had some extra anti-slip carpet material.  It's like a foamy, plastic mat-type thing.  First I cut and sewed a piece from my jelly roll about 7 inches long. I left a hole to turn and fill with fiberfill or scraps of fabric.  Then I cut anti-slip material and aligned it so the holes were covered and then I sewed it to encase the fabric. After sewing I turned it inside out so seams were on the inside.  One trick when sewing is to hold and pull the beginning threads until you can actually hold on to the material and help pull it along.


 I then put my stuffed fabric piece inside it and tried different ways of holding it to maneuver the quilt.  (Please excuse the fluorescent lights, which are making me look jaundice and dishpan hands).


 I'm not sure if this is ergonomically helpful for the hands or not?

I noticed if I squeeze it like this, it kind of feels like a pen. (a little bit)  I'm still working with it to see if helps.  I know it is definitely better than nothing.  The anti-slip material does grip the quilt and help move it.


Another way to use this material is to just have it slip through three fingers. Experiment and see what feels the best for your sewing experience.

Have a good week!


Fenwick the Fox

While my sewing machine was getting looked at I thought it was the perfect time to try a handmade pattern by Shelly from Gingermelon.  She was offering a relief sale for hurricane Sandy.  All proceeds would go to help Sandy victims through the Canadian RedCross to help Americans.  I hope I got that right.

I felt this was a win-win opportunity for me.  Help Sandy victims and purchase a Gingermelon pattern. Yea!  I purchased Fenwick the Fox and Woodland Elf patterns.  I am really excited about the Elf pattern but decided to get a feel for hand sewing on felt with the fox pattern first.  The tiny pieces make it go fast.  I bought quality wool blend felt, which is strong and will hold the stitches here.   Gingermelon shop link is here.


I looked for 7.5 mm eyes but could only find 6.5 mm so I tried to embroider around it, but with the safety plastic behind the eye, I found it easier to make an eye shape.  Unfortunately, he looks a little different because he looks a little sly now.  Sly fox...hmmmm, giggle.

He is sitting on snow.   Strangest weather day on Thanksgiving starting out around 50 degrees and then  by evening it dropped down to 20's and snowing.  I actually like the white covering.  Makes all the beautiful lights in the neighborhood a little more merry.

I am thankful for my family and also the ability to see and sew.  I'm thankful for all the talented artists out there sharing their patterns.

Have a great weekend!


Thursday, November 1, 2012

Friday's Fall Foliage and Frights

I don't have any sewing or craft pictures to show so I thought I would share some fall and Halloween pictures.

This picture reminds me of a cheerleader, above. Yea, rah, rah!


Something about the crunch, crunch of the dried leaves and that organic fall smell that is so captivating.


I normally don't post blurry pictures, but this picture kind of reminds how slow life moves when one is little, but becomes somewhat of a blur the older we get.


Another hat this one made for Audrey.

Sorry this post is heavy with pictures...

Now onto all Hallows Eve....

It was relatively chilly so the girls wore costumes that enabled them to layer underneath.


I got them to say "Trick or Treat" real loud, but the "Thank you" after was sporadic.


Look at all those treats!  Our young neighbors were real troopers letting me take a picture of them.


Happy Halloween!


    Who is that scary clown following us?

                        It's Daddy!

Thank God for our body's ability to make insulin so we can consume all this sugar!  Let's go on a roller coaster blood sugar ride!  No, actually my girls have no problem eating only one piece of candy a day.  After a few days, the candy goes on top of the fridge and hopefully they will forget about it and I can bring it to work...or is that wishful thinking??


The lollipop turned their tongue black.  Neat trick for a yummy treat.

Black, yummy goodness.. the lips cannot tell a lie.


Happy November... oh yea, a new Crafty BOM video today. I must go check it out!